
Or How to Get a Driver’s License in Norway: A Step-by-Step Guide
I got my Norwegian driving license last year. Now I’m creating a step by step guide for you. This will help you get yours in the fastest and least expensive way.
In this article:
Don’t want to read? Watch video here:
So, where do you start?
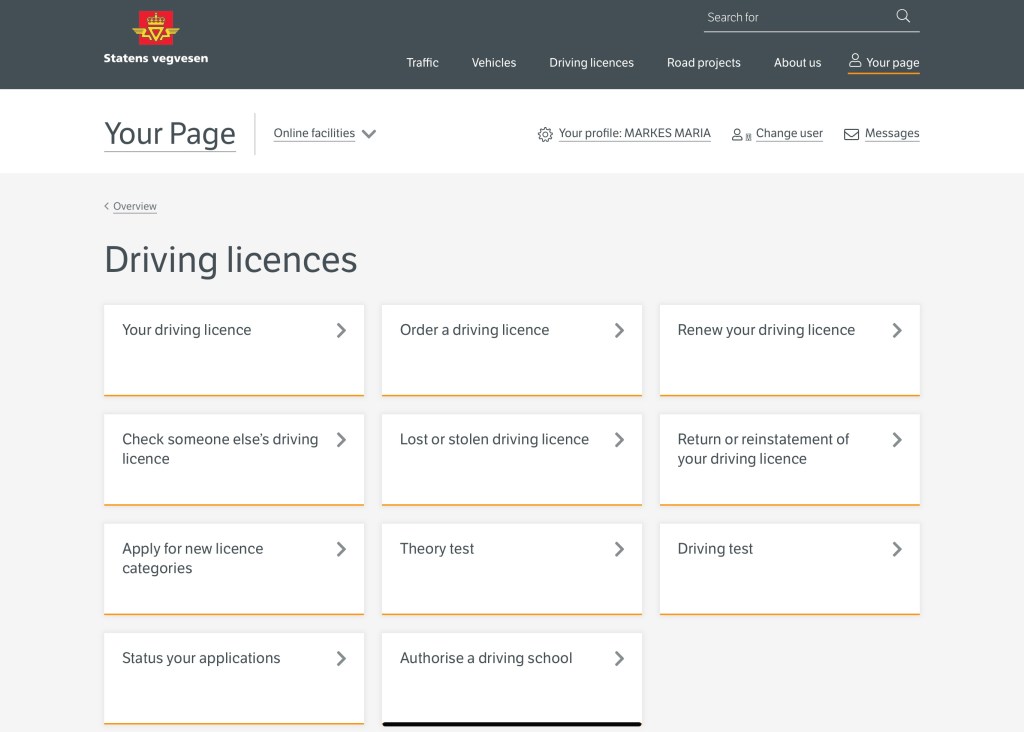
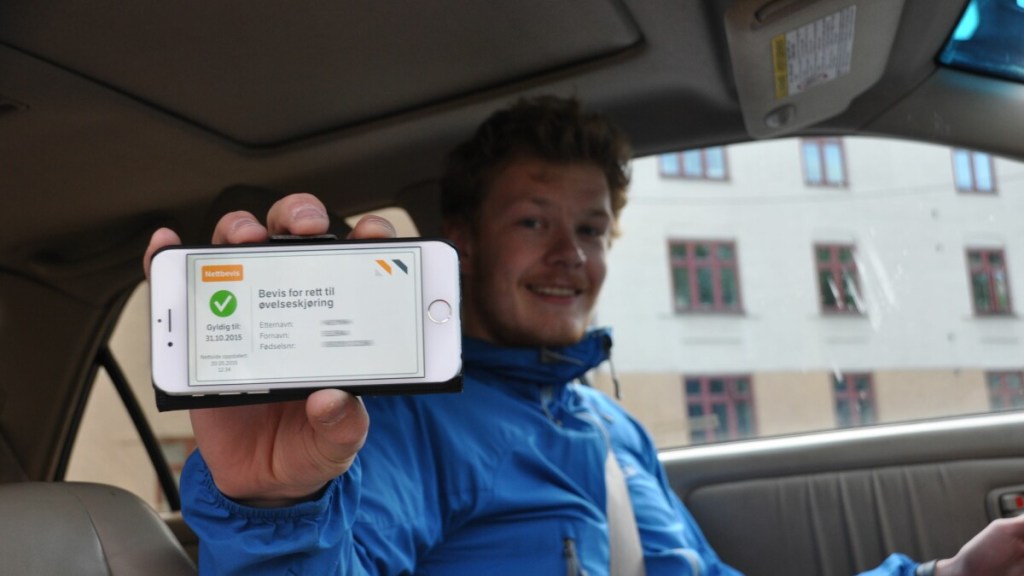
Go to statensvegvesen.no and choose your preferred language. The page is available in English. Log in with your BankID to access your page. In the overview, you will see a box labeled “Driving Licenses” and in the menu, select “Order a Driving License.” Choose your preferred category and follow the instructions on the screen. You will need to fill out a questionnaire about your health and vision.
After that, you can start the learning process. You can also track your progress on your page as you finish the obligatory steps. Your driving school will send information to Statens Vegvesen.
What are the obligatory steps you need to take?
Step 1
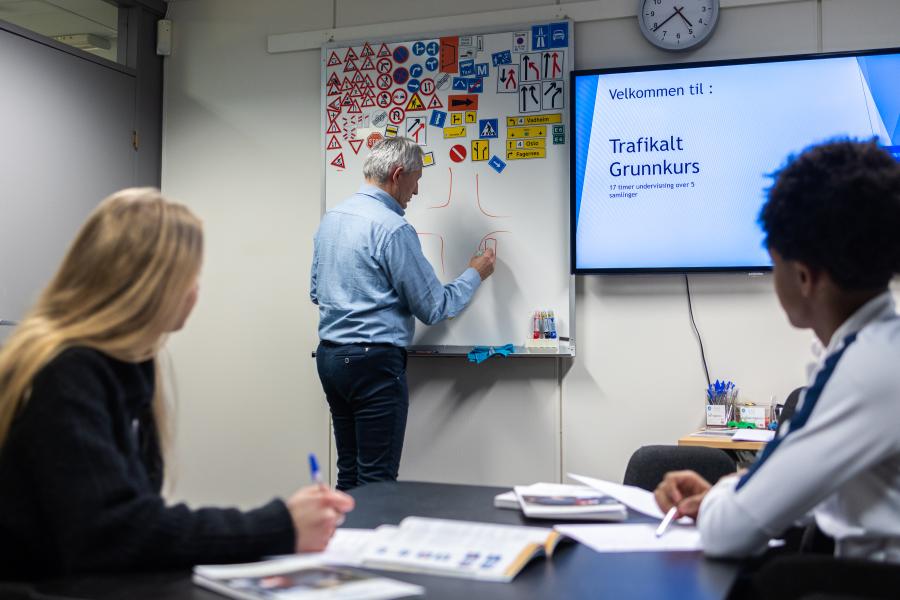
You start with the Basic Traffic Course.
This course is mandatory and can be taken at any driving school. The course is 17 hours long and includes First Aid and night driving along with other theory. If you already have a driving license, you are not obligated to take it. If you are over 25 years old, you only need to take two parts – First Aid and night driving. If you start the process in summer, night driving not be available. You can only take this part from October until March. You can take it later and will still be granted permission to practice.
After you take this course, you will get a “learner’s permit” that lets you practice driving privately.
There are two things that must be followed while you practice:
The person sitting next to you in the car should be over 25 years old. They must have had a driving license for at least 5 years. And, of course, they should be sober.
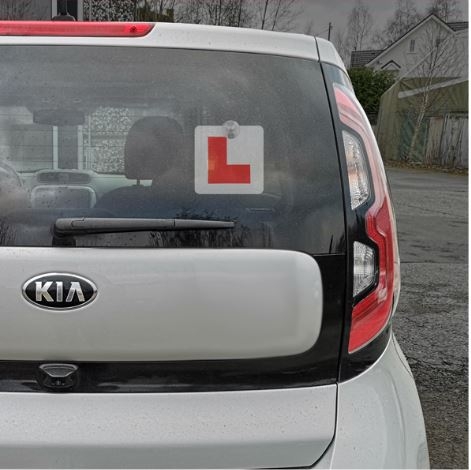
The car must be marked with an “L” sign to show others on the road that you are a learner. (You can buy it in the store like Biltema or ClashOlson)
Next, it’s best to take the Theory test.
Why?
Saves you time (= money) with your driving school teacher because you’ll already know the rules and signs.
Also, taking the test early is good because some traffic stations have long waiting times. In big cities like Oslo, booking a spot can be challenging. You need to book 3-4 weeks or even months in advance. This depends on the season and city.
Tip: If you’re in a hurry and can’t find a date in your city, check nearby traffic stations. I did that and passed the test in a small town near Oslo instead.
When you’re ready for the final driving test but haven’t passed the theory test, it can be frustrating. You might have to delay the driving test because you can’t book the theory test in time. It can be worse if you fail on your first try. If you make more than 7 mistakes, you will fail the theory test. Then, you’ll have to wait 2 weeks before retaking it. You’ll also need to pay the fee again. Remember, a passed theory test is valid for 3 years. During this time, you need to finish your learning. You also need to pass the driving test.
You can make an appointment for the theory test through your page when you log in to statensvegvesen.no. Don’t forget to bring a valid ID on the day of the test. Be aware that before you take the test, they will take a picture of you. They told me that it is for registration in their database. But, it was the actual picture on my driving license. So, fix yourself up if it’s important to you. I have to live with that troll looking at me from my card for the next 15 years now.
step 2
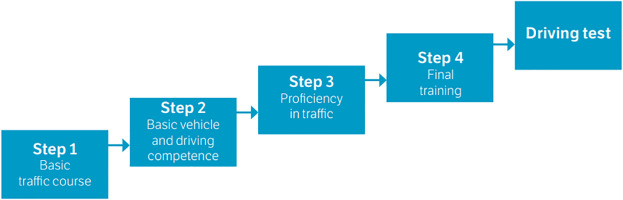
After the basic course and possibly passing the theory test, you can start your basic training.
First, choose whether you want to drive an automatic or manual transmission. I chose automatic, so my license only allows me to drive automatic cars of B class. You can always take extra training later. I think it’s easier to start with automatic. You spend less time mastering the car itself.
This basic training is about learning the mechanics of the car. You need to get comfortable. Feel the dimensions. Learn how all the systems work by driving around blocks or roads with 30 km/h speed limits. Practice until you are ready to move to the next step.
When your teacher thinks you are safe to drive in traffic, you will have first evaluation hour. They will ask about your performance and tell you if you are ready to handle your vehicle and focus on other road users.
This step took me 9 hours with a driving school back in 2016. Here’s a tip: don’t start learning unless you have enough money. Also, have someone you can practice driving with outside of the driving school. It’s a big financial commitment, and at the end of the article, I will reveal how much I paid.
Due to a lack of money, I took a 5-year break before starting again. The money I had spent was lost and I had to start from scratch.
Step 3
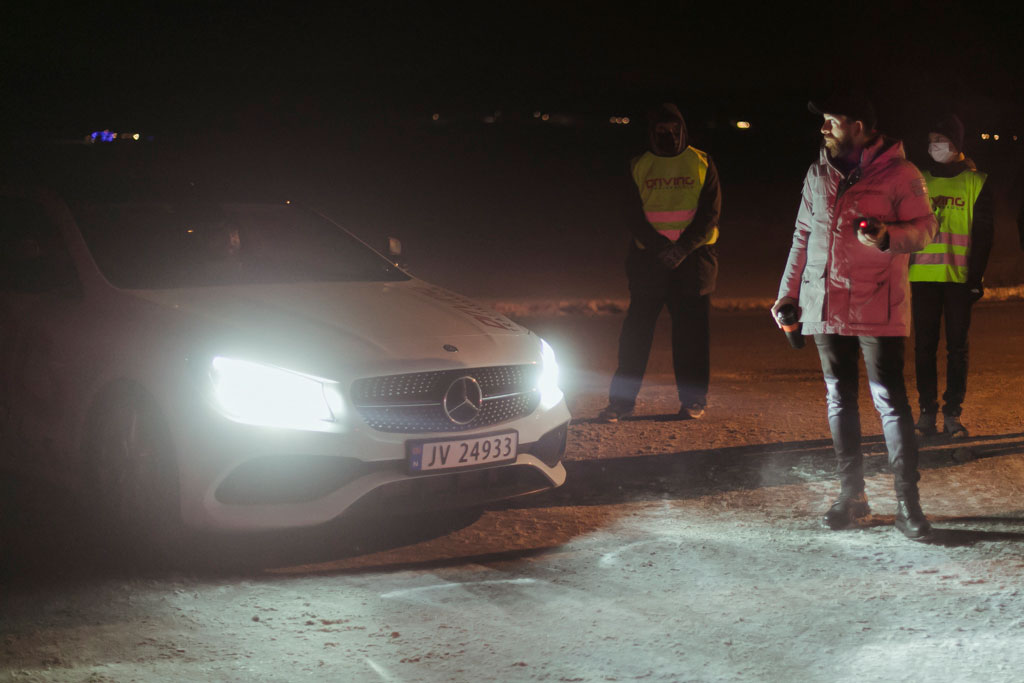
Because I already completed the Basic Traffic Course and step 2 from my earlier training, I moved on to Step 3. This involved more driving lessons in different traffic conditions and taking a Safety Course called “Glattkjøring” in Norwegian. You will need to do this too.
To save money, I found a private unofficial instructor who taught me to drive again from scratch before I went back to school.
In total, it took me about 2 months of driving, 4 hours a week, to reach a good level. I would have paid double if I had gone to a driving school. So, my advice is to find someone to practice driving with in your city. It could be a family member or a friend. But, in my experience, you won’t learn much about navigating well in traffic this way. The person sitting in the car with you should explain things, not just be there so you can drive. The lady I drove with had worked as a bus driver and she had been driving for over 20 years. She actually trained me in navigating difficult roads and highways. She taught me to handle signals, work with mirrors, overtake safely, and understand roundabout rules.
Another choice is to continue in school. You can take extra drives with someone who can help you with the car. Their company will help you in working on things you learned in driving school that week.
Important TipS About Searching for a Driving School
If a teacher can’t offer more lessons when you want to advance faster, it’s a big red flag. This will slow you down.
I chose my first school based on reviews, but it had only one instructor with many students. I told her my time frame, thinking she would adjust the lessons, but that didn’t happen. When I asked for more driving hours per week, she couldn’t offer them. As a result, we ended up training just once a week. This schedule was slow and ineffective.
Another thing to look for is that your teacher can evaluate you correctly. They should also give a timeframe for your final steps.
If you are at step 3, you should already be driving at a decent level. The teacher should be capable of estimating how many hours you need to move to the next step. I changed schools because my first teacher didn’t tell me how many lessons I needed, despite my many requests. It seemed like she was just trying to make more money.
After 2 months, I switched schools, and my new teacher said I needed two more hours before enrolling in the Safety Course. I took these two hours in the same week and moved to the next step after the Safety Course.
I waited around 2 weeks for this course, because there are only 1-2 places are equipped to serve all the driving schools in the area.
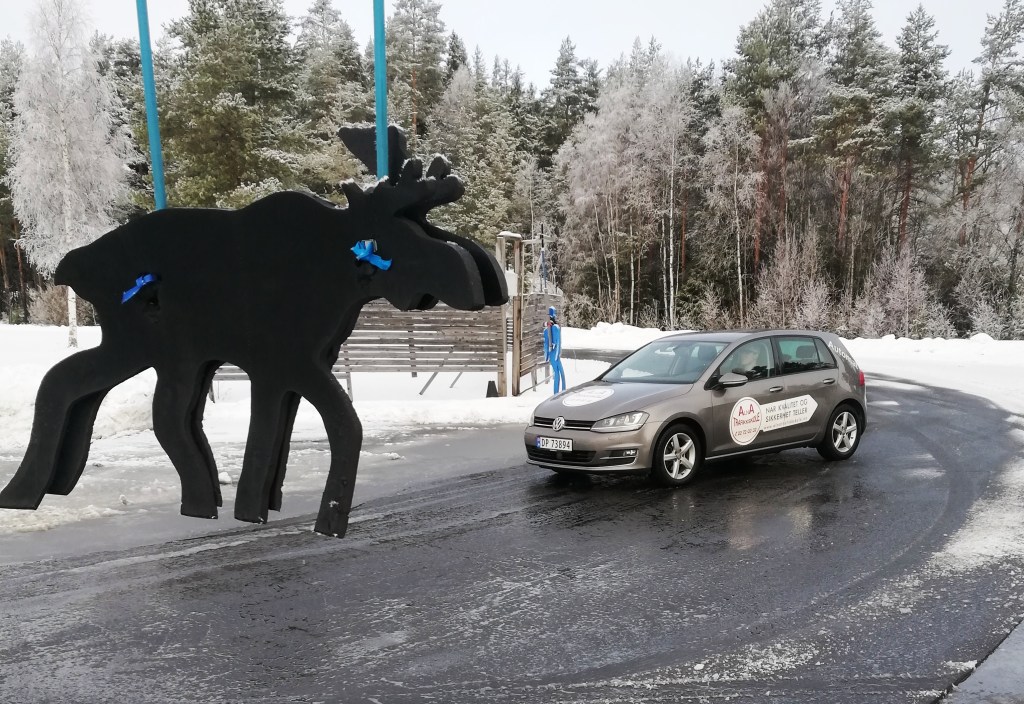
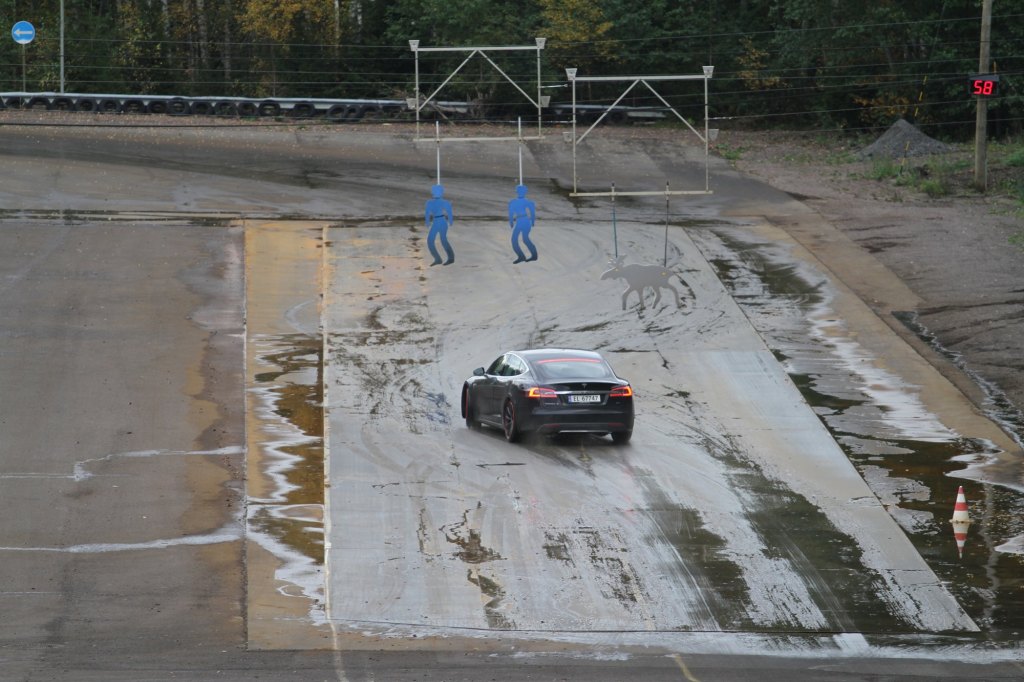
The course was a lot of fun! First, we had a short theory class discussing different conditions and how to reduce accident risks. Then we went to a showroom to practice securing passengers and loads in the car and tried a crash simulator. The last part of this 4-hour course was driving with your teacher on different tracks. I learned how the car reacts on slippery roads, what to do when you lose control, how to go uphill when it’s slippery, and more. This is a very important course, especially for those living in Norway.
After the course, you will have one more evaluation with your teacher. This evaluation determines if you can move to the final step. It also assesses if you need more practice. During this evaluation, you will drive for 45 minutes without help from the teacher and discuss your performance afterward. By this time, you should be confident driving in different speed zones. You should feel comfortable driving on highways, in cities, in the countryside, and on narrow roads. Also you need to know how to overtake cars and be overtaken, use mirrors and signals correctly, know all the traffic rules, signs and how to navigate roundabouts.
Step 4
In the final step of training, you will prepare for the practical driving test. This training will end with the Safety Course on the road. After completing this course, you can book your driving test.
The number of driving hours you need in this final step depends on your level and is very individual. For me, it went quickly because I had practiced a lot before. By that time I had over 60 hours of driving with the school and privately.
In this stage, you will mostly learn how to avoid accidents, drive responsibly, and interact with others on the road. By now, all the technical parts, like using mirrors and signals and knowing the rules, should be automatic.
I had 4 more driving sessions before the last Safety Course on the road, which was tough for me. Your teacher will enroll you in this class when you are ready for the final driving test.
The Safety Course on the road now takes 13 hours and has 4 parts. Before, it involved driving to Sweden and back with a teacher and 3 other students in the car.
You start with a theory class. In this class, you discuss responsible driving. You also learn how to handle different situations on the road. After that, your teacher pairs you with another student, and you are given a route with stops. Our route had around 10 stops, and we had about a week to prepare. You start at your school and go from stop to stop. You can’t use navigation like Google Maps. One person drives while the other student sits behind you and helps navigate.
We changed drivers after each stop. The hardest part was remembering how to get out of Oslo. You needed to memorize the route and you can use only your written notes. It got easier as we moved to the highway and went from city to city. It was quite stressful at times. We made many mistakes mostly due to the stress of trying to find the right directions as we drove. And at the last part of the course where we all sat together discussed mistakes and summed up everything we had been through.
If you didn’t pass theory test by now, you will need to do it before you take driving test.
In the next article you can read about my full experience with the driving test and how theory test works. Also I will tell about how you can prepare for it in a week. I don’t want to include all my notes here because this article is already too long without it.
driving test
I can summarize the technical parts of the driving test here:
- You need to book your test time through the Statens Vegvesen page after logging in with your bank ID. You can choose the closest traffic station or any station you prefer. Three days before the test, you will get a link via SMS to pay for the test. It’s cheaper to pay online than at the station.
- Don’t forget your passport or other ID when you show up for the test.
- The driving test lasts about an hour. You will be assigned one instructor who will evaluate you. Note that all instructors are different, and passing the test depends on both your skills and the instructor’s evaluation. When you sit in the car, the instructor will ask you two questions about the car. Ask your teacher for a list of possible questions and answers beforehand to prepare. Then you will drive for about an hour and be asked to perform tasks like turning around, driving in reverse, and parking.
- After you return to the traffic station, the instructor will ask for your summary of your driving. He will tell you straight if you passed or not. You will get the decision in writing along with an evaluation of your driving. If you pass, you can order your driving license. If not, you can try again after a four-week waiting period.
So, how much did it cost me to get my driving license with zero prior driving experience?
I will go in the chronological order. Let’s calculate:
- 9 hours of driving in school on step 1 – 10,200 NOK
- Basic Traffic Course – 2,000 NOK
- Night driving – 2,000 NOK
- First Evaluation – 850 NOK
- 40 hours of private driving – 30,000 NOK
- 4.5 hours of driving with a bad driving school – 5,881 NOK
- 4.5 hours with a new school + second evaluation – 5,016 NOK
- Second Safety Course (Glattkjøring) – 4,166 NOK + driving to and from the course with a teacher (45 min) – 850 NOK
- 3 hours of driving on step 3 – 3,344 NOK
- Last Safety Course on the road (paid in 2 parts 5,098 NOK + 4,262 NOK) – 9,360 NOK
- 1.5 hours of driving with the last evaluation – 1,672 NOK
- First try driving test – 5,566 NOK (rent of car + warm-up driving) +fee – 1,200 NOK
- 3 hours of driving – 3,344 NOK
- Second try driving test – 3,894 NOK (rent of car + warm-up) + fee – 1,200 NOK
- Theory test fee – 380 NOK
- Photo – 70 NOK
- Driving license – 90 NOK
Total:
- 57,739 NOK on school
- 30,000 NOK on private driving
- 67 hours behind the wheel before I passed the driving test.
Grand total: 87,739 NOK. With today’s exchange rate, that is 7,500 euros. Now that I’ve actually calculated the total amount, it is painful to look at it. It took me exactly a year to finish learning (from February 2023 to February 2024). So, you can see I spent roughly 7,500 NOK every month.
In the end, I want to say a big thanks to my fiancé who made it possible. I love you! 😊
Video about my personal experience with the final driving test and advice for everyone planning to take a test soon here:
